Almost a guide to getting started with NixOS the modern (2023) way.
There seems to be a shortage of written guides on the Internet for setting up NixOS the “modern” way - Flakes + Home Manager. It doesn’t help that Nix’s official docs are very disjointed so hopefully this will fill in some gaps that I observed when setting it all up.

Warning: NixOS is not exactly beginner friendly - you should have familiarity installing Linux distros before trying this.
But Why NixOS?
Eh… FOMO regarding all the memes.
There is one particular feature that is intriguing - the ability to roll-back your entire system (not incl. BIOS) in case of a misconfiguration or a broken update. You can’t do this with Ansible. This allows you (in theory) to get the benefits of a rolling release as well as the stability benefits of a traditional distro.
It takes the idea of reproducible builds, and extends it to the OS.
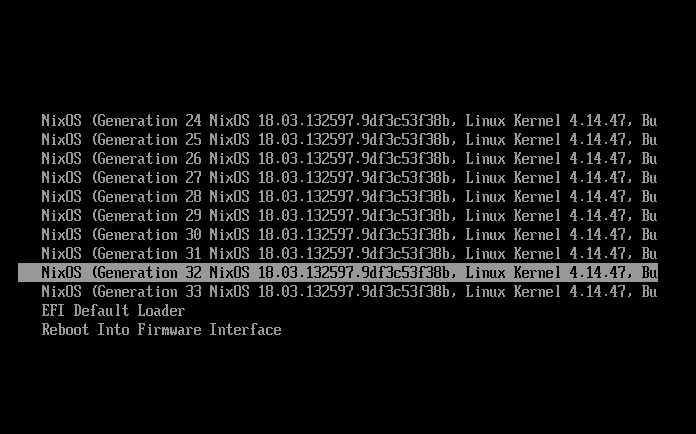
For example, NixOS will present you with all previous “builds” at boot time
for you to revert to in case something gets messed up.
Things I want to explore as part of this exercise:
- How hard is it to go from a minimal install to productive? At minimum I need a graphical environment with working vol, mic, camera, wifi, and hibernation. Is it harder than doing the same in something like Manjaro?
- Is Wayland truly ready?
- Try out
dwl(the Wayland port ofdwmby the suckless folks)
Constraints
- I want to stick to the “Nix” way of doing things as much as possible where it makes sense to me.
- Stick to Wayland only applications as much as possible.
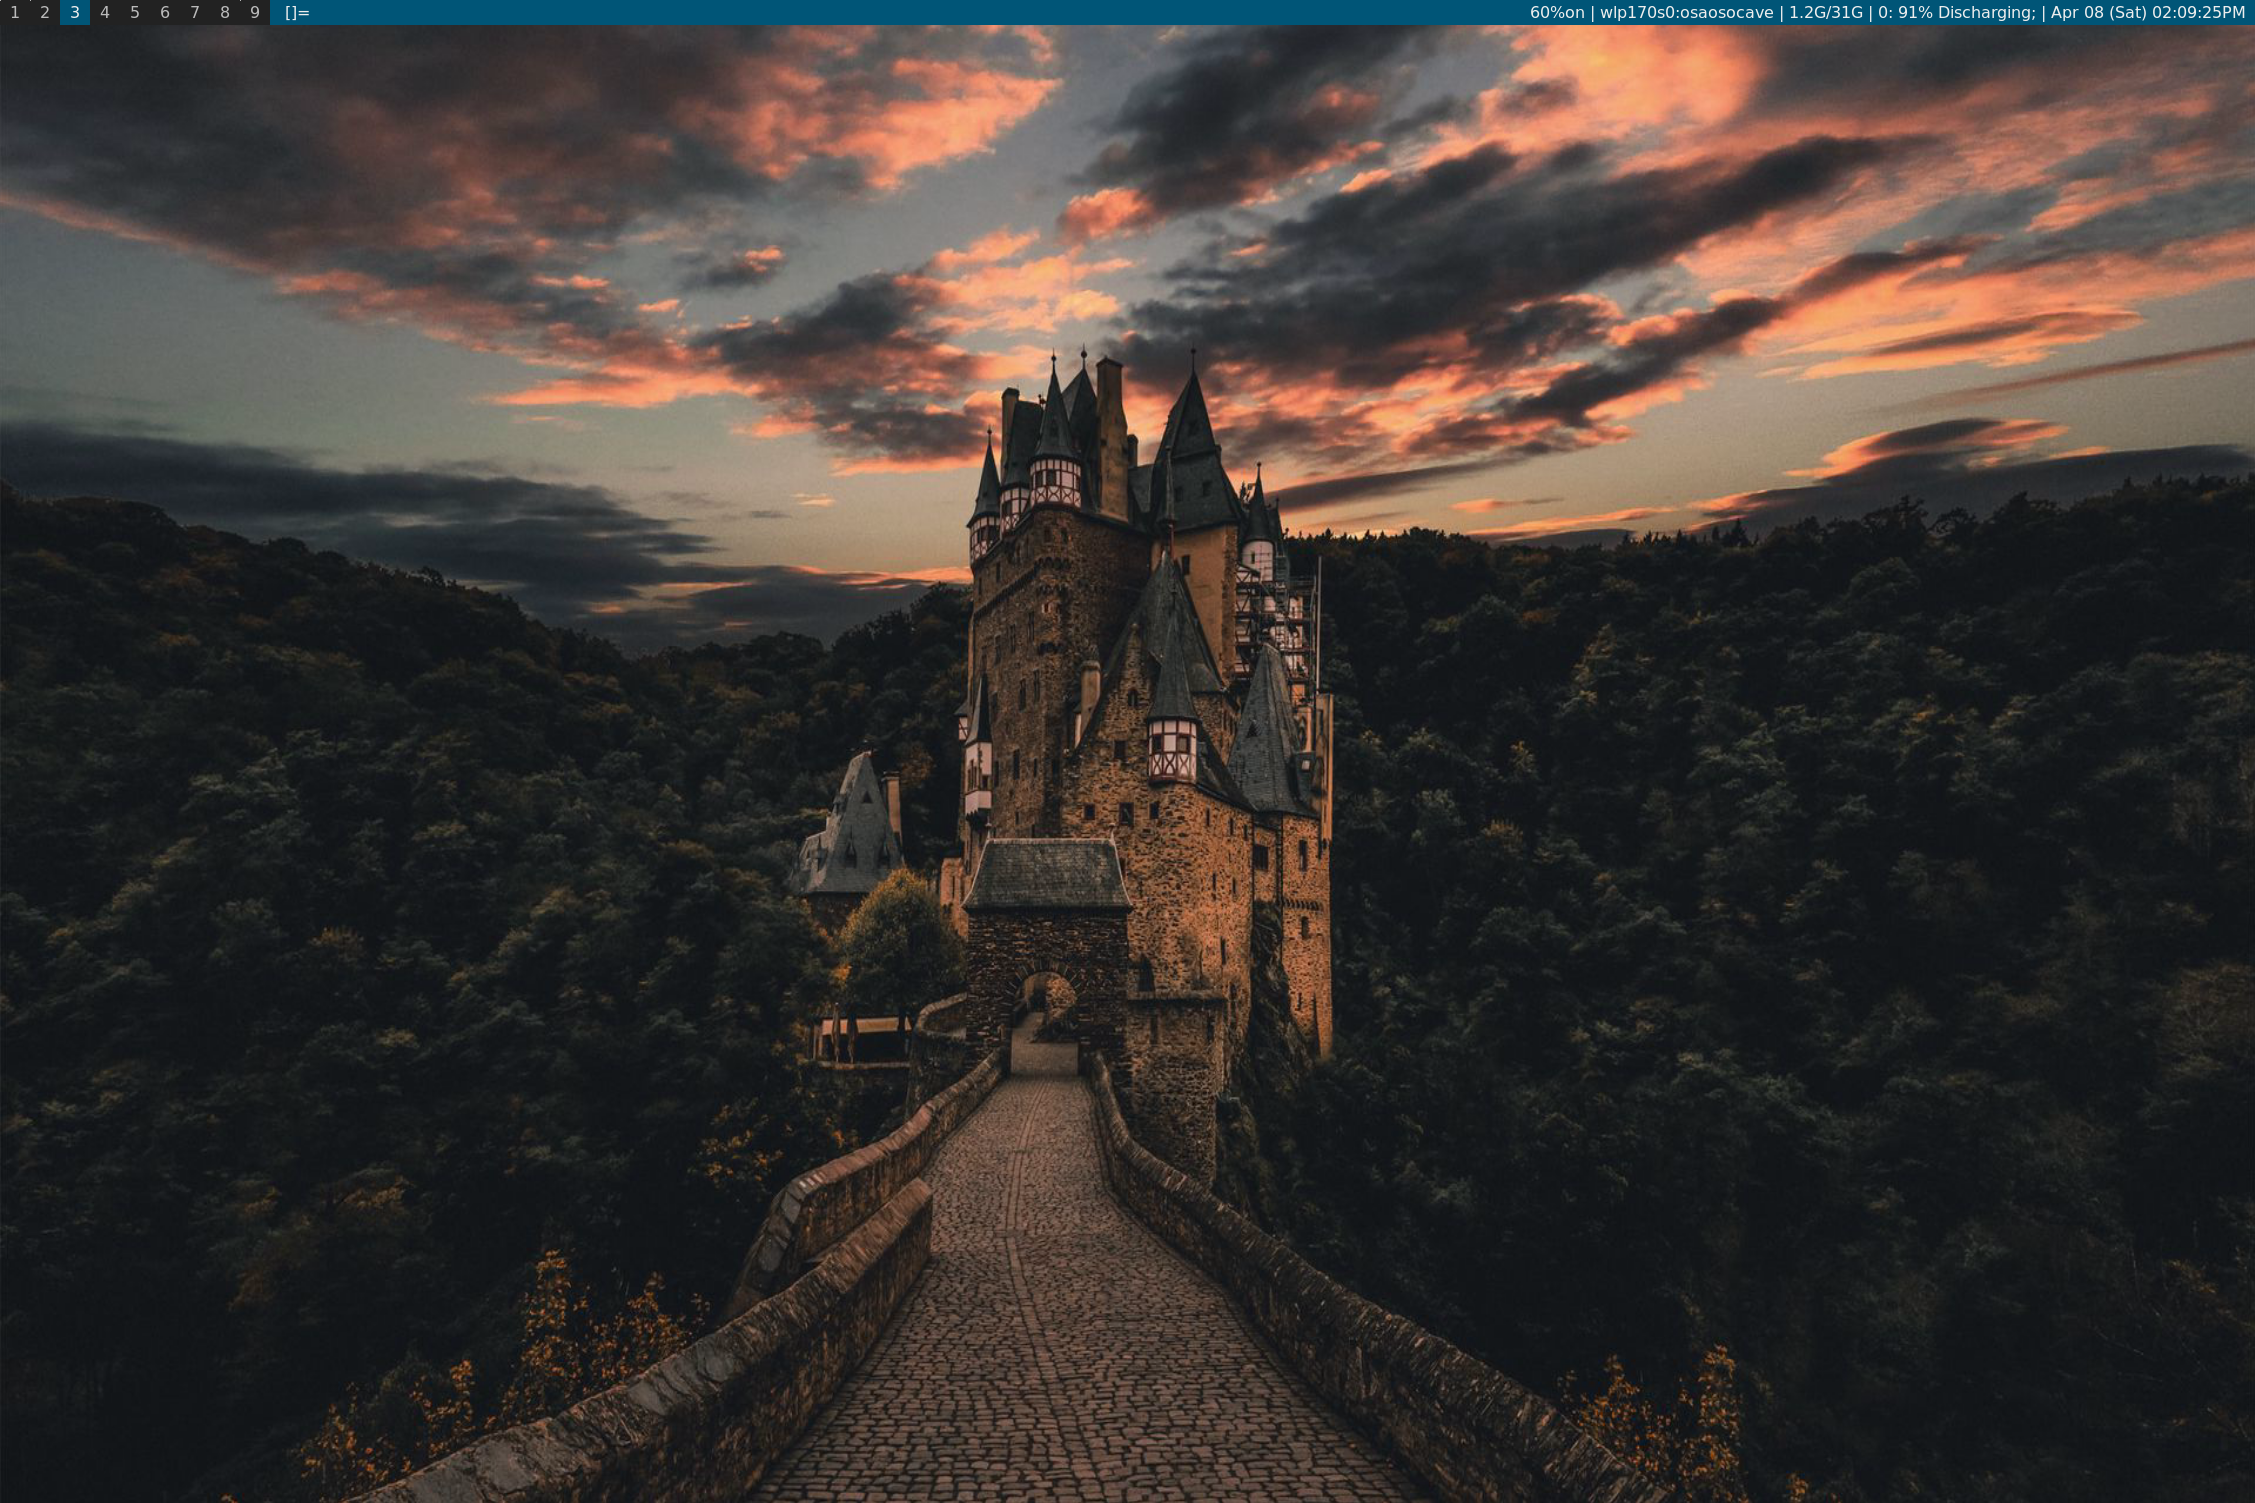
Spoilers! (End result)
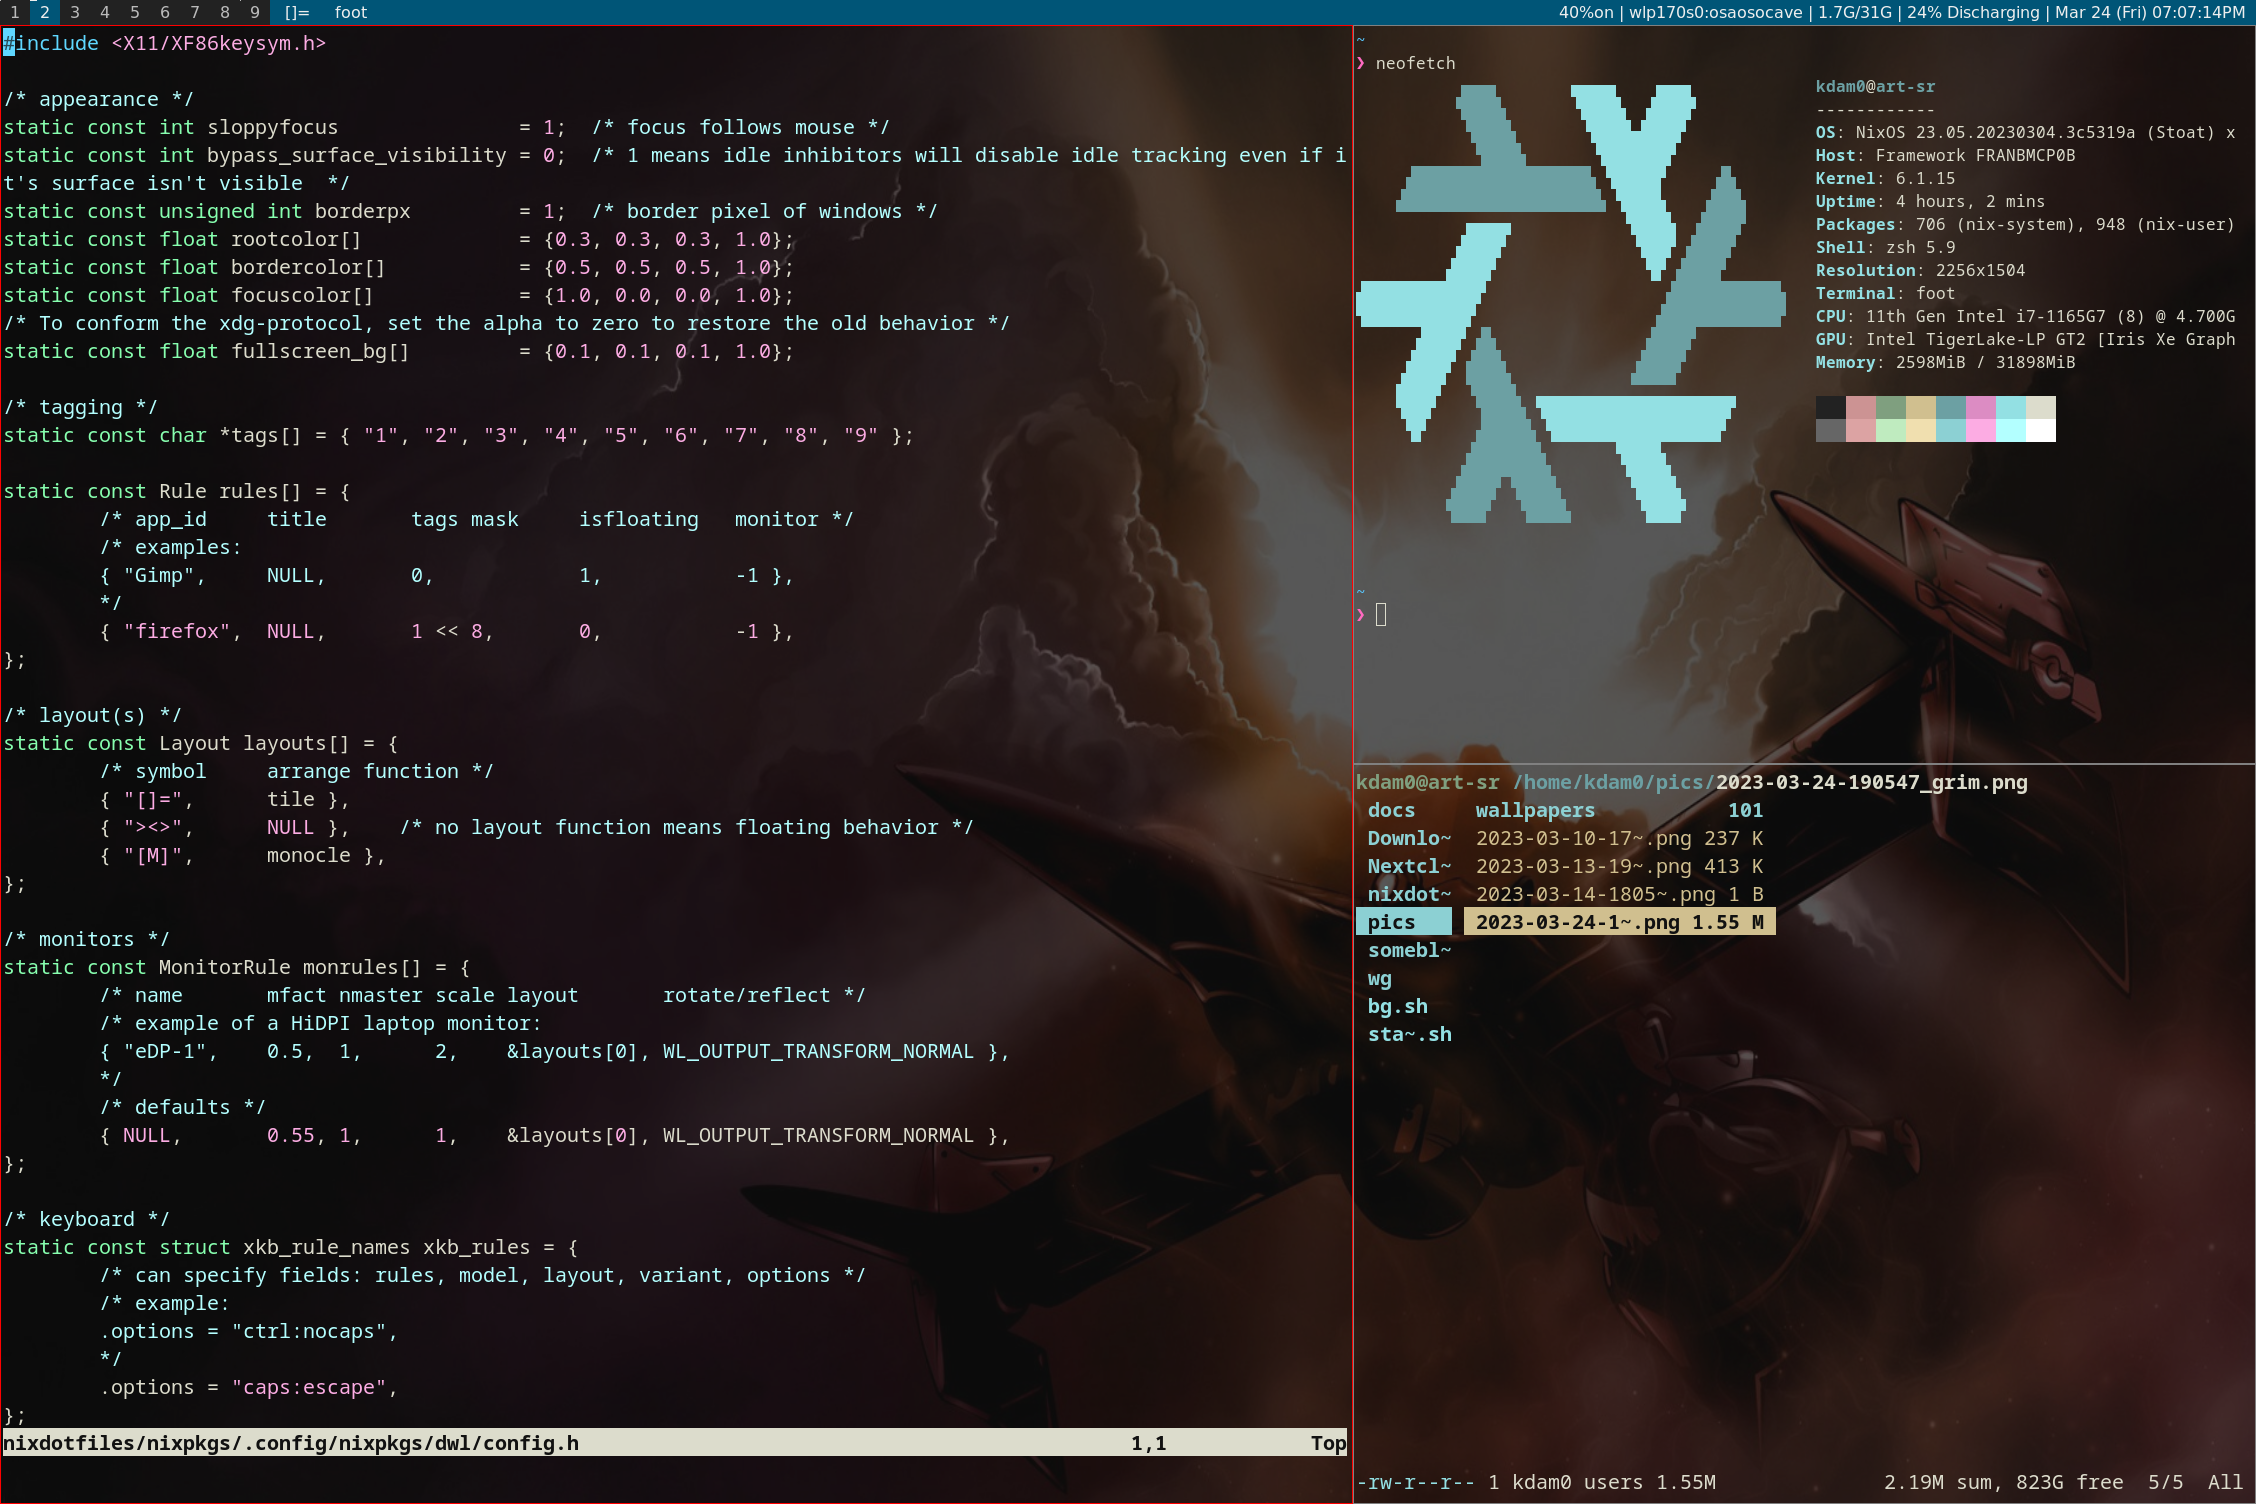 (Probably too ugly for r/unixporn, but works for me :)
Installation
Getting a Live USB going
- I used the minimal iso.
- Create a bootable USB with the usual -
sudo dd if=/path/to/iso of=/dev/sdX bs=4M. - Boot up.
- Then start following the steps for manual installation from the official guide to complete the install.
Make sure to give SWAP as much space as your memory capacity for hibernation to work properly.
Wifi did not work for me out of the box. So I used my phone to tether via USB.
First boot
If everything went well, you should be presented with a TTY prompting you to login:
NixOS ...
Login: <your username>
Password: <your password>
Once you login, you will still just have a TTY, but we can now go ahead and start installing our graphical environment.
Housekeeping
- You should have two NixOS config files in
/etc/nixos/:
configuration.nix
hardware-configuration.nix
-
Edit the
configuration.nixfile by setting the correct values for hostname, networking, timezone and users. I also add a few basic system-wide packages here such asgit, rsync, neovim, htopetc. -
To apply and use your changes to any of these files you need to run:
sudo nixos-rebuild switch
- Since we want all our configuration to be version controlled,
I copied these files to live under my user’s config:
~/.config/{nix, nixpkgs}/:
cp /etc/nix/nix.conf ~/.config/nix/nix.conf
cp /etc/nixos/configuration.nix ~/.config/nixpkgs/configuration.nix
Nix will now use these user-specific files to read its config :)
Flakes Support
Nix (the pkg mgr) does not come with Flakes support out-of-the-box. So we need to enable it:
- In
~/.config/nix/nix.confadd:
experimental-features = nix-command flakes
- Apply it:
sudo nixos-rebuild switch
Read about Flakes.
Home Manager Support
Now we can install the Home-Manager flake.
- Init our base flake:
cd ~/.config/nixpkgs
nix flake init
This should generate two files:
flake.nix
flake.lock
- Next we tell
flake.nixto manage all our configuration (system + home) for our system:
{
  description = "NixOS configuration";

  inputs = {
    nixpkgs.url = "github:nixos/nixpkgs/nixos-unstable";
    home-manager.url = "github:nix-community/home-manager";
    home-manager.inputs.nixpkgs.follows = "nixpkgs";
    nixos-hardware.url = "github:NixOS/nixos-hardware/master";
  };

  outputs = inputs@{ nixpkgs, home-manager, nixos-hardware, ... }: {
    nixosConfigurations = {
      # Change below to use your hostname from configuration.nix
      "art-sr" = nixpkgs.lib.nixosSystem {
        system = "x86_64-linux";
        modules = [
          ./configuration.nix
          nixos-hardware.nixosModules.framework
          home-manager.nixosModules.home-manager
          {
            home-manager.useGlobalPkgs = true;
            home-manager.useUserPackages = true;
      	    # Change below to use your username from configuration.nix
            home-manager.users.kdam0 = import ./home.nix;

            # Optionally, use home-manager.extraSpecialArgs to pass
            # arguments to home.nix
          }
        ];
      };
    };
  };
}
“art-sr” is my hostname for this machine.
In my case, I also have the following two lines specifically to load settings for my hardware:
    nixos-hardware.url = "github:NixOS/nixos-hardware/master";
    ...
          nixos-hardware.nixosModules.framework
you will need to modify these values based on your hardware support.
- Create a
~/.config/nixpkgs/home.nixfile with your values:
{ config, pkgs, ...}:
{
  home.username = "kdam0";
  home.homeDirectory = "/home/kdam0";

  programs.home-manager.enable = true;
  home.stateVersion = "22.11";

  services.gpg-agent = {
    enable = true;
    defaultCacheTtl = 1800;
    enableSshSupport = true;
  };
}
- Apply:
sudo nixos-rebuild switch
It took a few attempts to get NixOS to re-build successfully. I ran into a few different issues involving users, and hostnames while following the official docs until I arrived at the configs above which worked.
Read about Home Manager flake.
This would be a good time init a git repo in ~/.config/nixpkgs/ and publish your progress.
Setting up the GUI
Window Manager + bar + system info.
Getting dwl is easy enough. In my home.nix:
  home.packages = [
    pkgs.dwl
    ...
  ];
This will install dwl on a rebuild.
Then I can run it with dwl.
Oh it fails…something about permissions…
In ~/.config/nixpkgs/configuration.nix make sure you have:
security.polkit.enable = true;
Oh it fails again with GLE errors :( Add:
  hardware.opengl = {
    enable = true;
    driSupport = true;
  };
Sweet now it launches!
But of course I need to configure the keys - that’s the whole point of a WM.
Additionally, dwl requires a re-build on every config change…
How do I tell Nix to use my config file while installing/building dwl?
Lucking all packages (pkgs.*) build files are defined on their GitHub.
We can see that we are allowed to pass in a conf argument to
this
file.
After a bit of digging around, I arrived at how to do it:
- First copy your
config.hto~/.config/nixpkgs/dwl/config.h. - Then point to it in your
home.nix:
  home.packages = [
    (pkgs.dwl.override {
      # trying to supply config.home.homeDirectory here leads to "impure" usage.
      # so disabling it for now.
      # conf = (builtins.readFile "${config.home.homeDirectory}/.config/dwl/config.h");
      conf = ./dwl/config.h;
    })
    ...
  ];
I know I can just clone the source myself and build it, but I like to use the default package manager whenever possible to manage packages.
Of course since dwl is as minimal as it gets, it does not ship with a bar.
We have many options for which bar to use,
I have very little use for a bar, so I kept it very simple and went with somebar:
  home.packages = [
    ...
    pkgs.somebar
    ...
  ];
If you want status info on your bar you can use something like someblocks - which will
let you script simple scripts with text output you want displayed in each block.
This will need to be cloned and built manually as it is not available in the Nix repos.
Oh but you probably don’t have make or any requirements to actually build it…fear not:
nix-shell -p gnumake
which put you in a temporary environment with all the common build tools available. Now you can:
sudo make install
wbg is a simple background setter for Wayland……aaaand BAM!
Terminal
I use foot.
Create the config file in ~/.config/nixpkgs/foot/foot.ini:
# for transparency #
[colors]
alpha=0.7
Use it in home.nix:
home.file.".config/foot/foot.ini".source = ../../common/foot/foot.ini;
I use this pattern for pretty much all my dotfiles:
  # script that sets a bg.
  home.file."bg.sh".source = common/bg.sh;
  # script that starts my gui env.
  home.file."start.sh".source = common/start.sh;
  # foot config
  home.file.".config/foot/foot.ini".source = common/foot/foot.ini;
  # wofi config (app launcher)
  home.file.".config/wofi/style.css".source = common/wofi/style.css;
  # mako config (notifications)
  home.file.".config/mako/config".source = common/mako/config;
Sound
In my configuration.nix:
  security.rtkit.enable = true;
  services.pipewire = {
    enable = true;
    alsa.enable = true;
    alsa.support32Bit = true;
    pulse.enable = true;
    wireplumber.enable = true;
    media-session.enable = false;
    jack.enable = true;
    systemWide = false;
  };
Nextcloud
I want a purely CLI way to handle this, and a periodic sync is sufficient for me.
We do this with systemd-timers (Nix advises against cron).
In my home.nix:
  systemd.user.services = {
    nextcloud-sync = {
      Unit = {
        Description = "Auto sync Nextcloud";
        After = "network-online.target";
      };
      Service = {
        Type = "simple";
        EnvironmentFile = "${config.home.homeDirectory}/.nextcloud.env";
        ExecStart = ''
          ${pkgs.nextcloud-client}/bin/nextcloudcmd \
          -h --non-interactive \
          --user "''${NEXTCLOUD_USER}" \
          --password "''${NEXTCLOUD_PASSWORD}" \
          ''${NEXTCLOUD_DIR} \
          ''${NEXTCLOUD_URL}
        '';
        TimeoutStopSec = "180";
        KillMode = "process";
        KillSignal = "SIGINT";
      };
      Install.WantedBy = ["multi-user.target"];
    };
  };
  systemd.user.timers = {
    nextcloud-sync = {
      Unit.Description = "Automatic sync files with Nextcloud when booted up after 5 minutes then rerun every 10 minutes";
      Timer.OnUnitActiveSec = "10min";
      Install.WantedBy = ["multi-user.target" "timers.target"];
    };
  };
  systemd.user.startServices = true;
Conclusions
- Yes setting things up from a minimal iso is harder than in Manjaro. Although I got everything I wanted working, there were many times I felt like giving up. (Aside: I am so grateful for Manjaro, and Arch wikis). That said, I expect this friction is a one-time cost for building familiarity with Nix, and well worth the benefits that come with it.
- You bet Wayland is ready. Multi-monitor works out-of-the-box, all my apps support it, and things just feel more polished than I have ever felt with Xorg.
dwlis as awesome as I had hoped! This is my daily driver now.
My configs
All the configs discussed (and more) are in my nixdotfiles repo.
