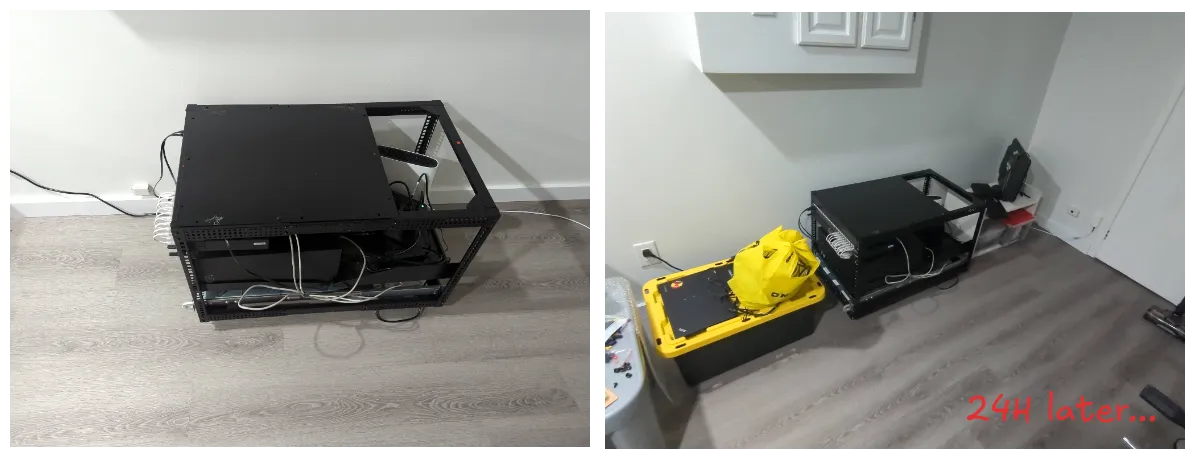
A Rack, finally!
Migrating my home-lab to a more permanent home.
1. tldr;
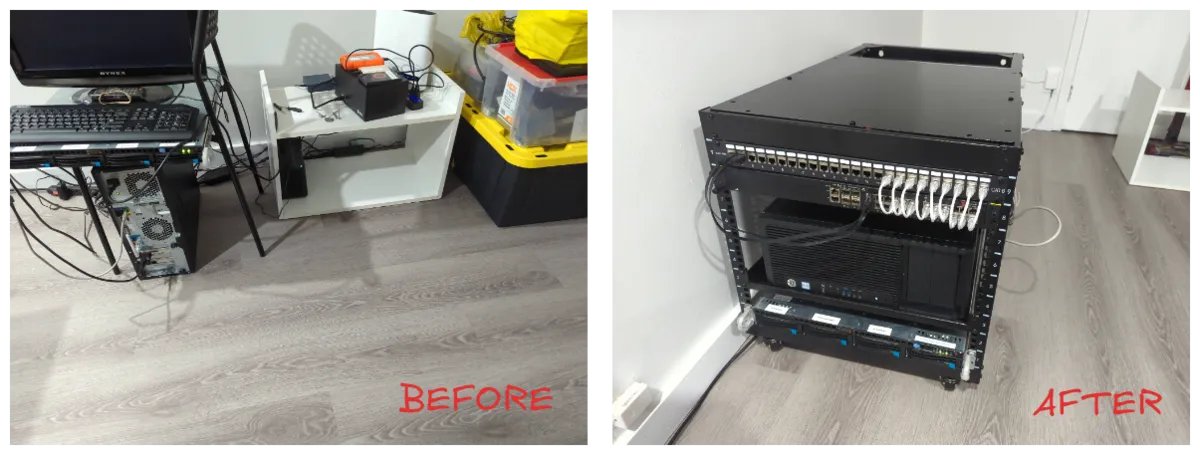
Mostly.
2. motivation
This is what we are working with. It’s a “rack” split into two…lets be generous and call it zones. If you squint hard-enough you can make out a chair that has the first zone, and that shoe-rack houses the second zone.
context: When I lived in a tiny apartment, the shoe-rack was the whole thing. Once I moved to a larger space, naturally, I expanded. Unfortunately a worn-out chair was all that was left of my budget at the time :)
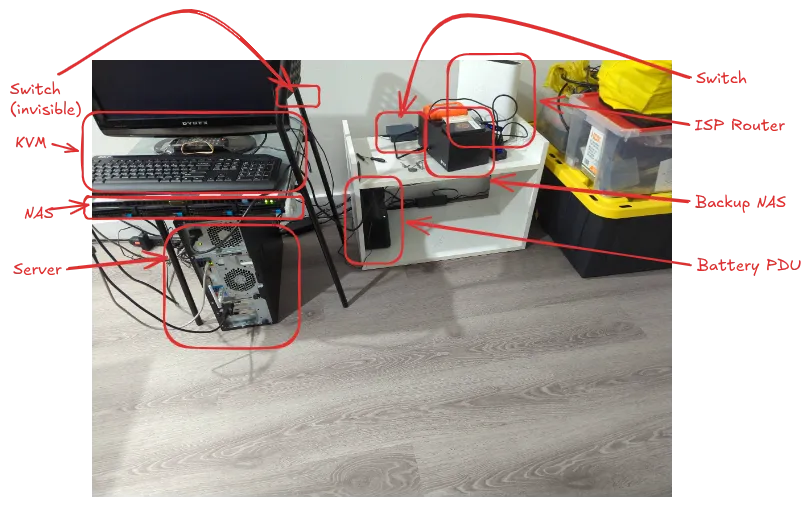
See that NAS up there? It came with rack-rails. Sure would be nice to use them so that I don’t have to take eveything above it off every time I need to get into my NAS.
I have 24P PoE switch sitting in box that I have no desire to introduce to this mess. Would be nice to use it to try out some home security camera stuff (also out of my budget).
It’s an eye-sore. Literally, every time I venture into my basement, I think to myself: got to fix that!
3. build
So I picked up this 9U adjustable-depth rack, with two rack-shelves and casters from ebay for around a $100. Though technically possible, it’s a PITA to adjust. Would not recommend doing it more than once.
I adjusted it to fit the length of my rack-rails kit for my NAS. Fortunately, this length gives me just enough clearance to rack mount two rack-shelves back-to-back. More on this later.
I had already measured my stuff prior to purchasing the rack.
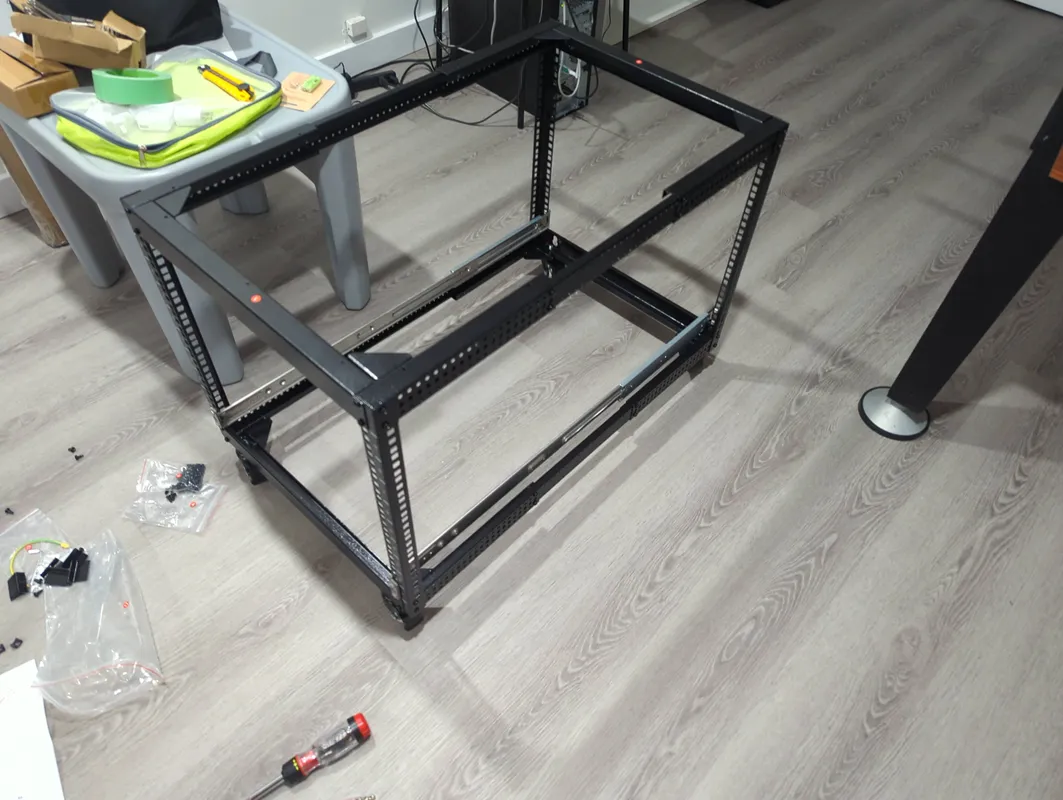
Its cheap, but sturdy enough once assembled. It will do the job for now.
4. lift & shift
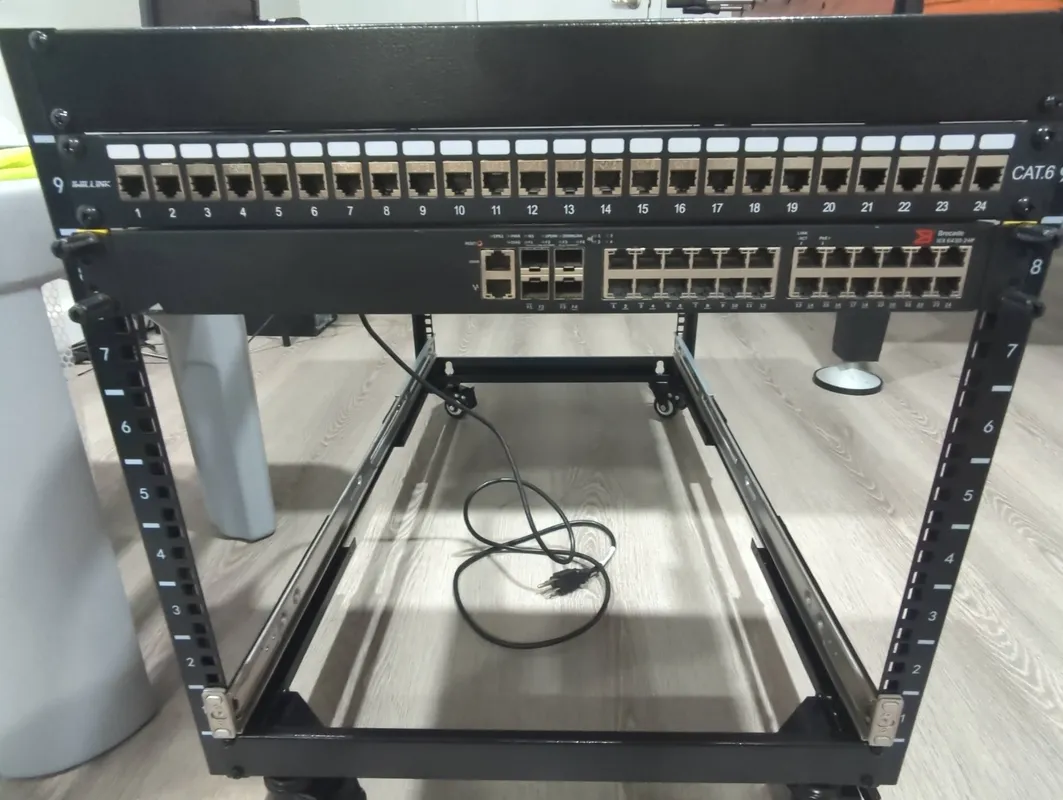
First things to go in are the patch-panel and my new (to me) Brocade switch.
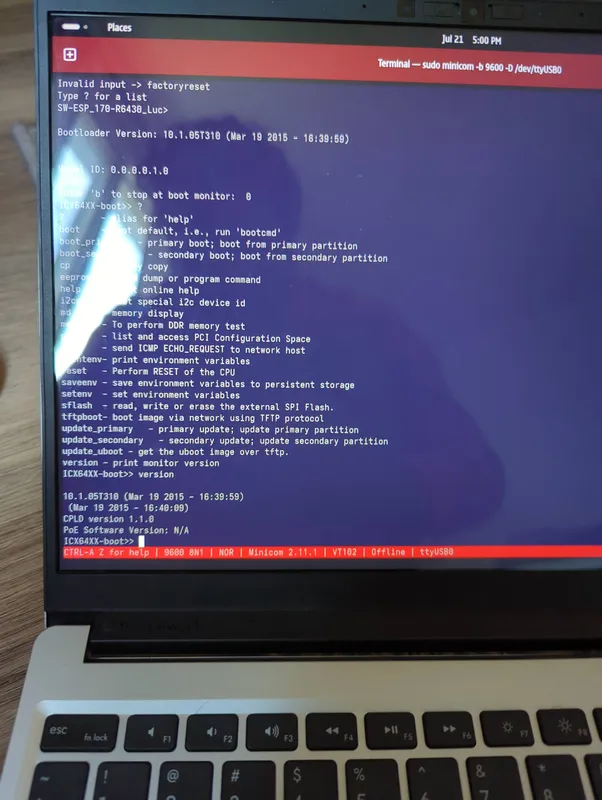
After some wrangling with the console port, I got it configured.
My rack rails in action.
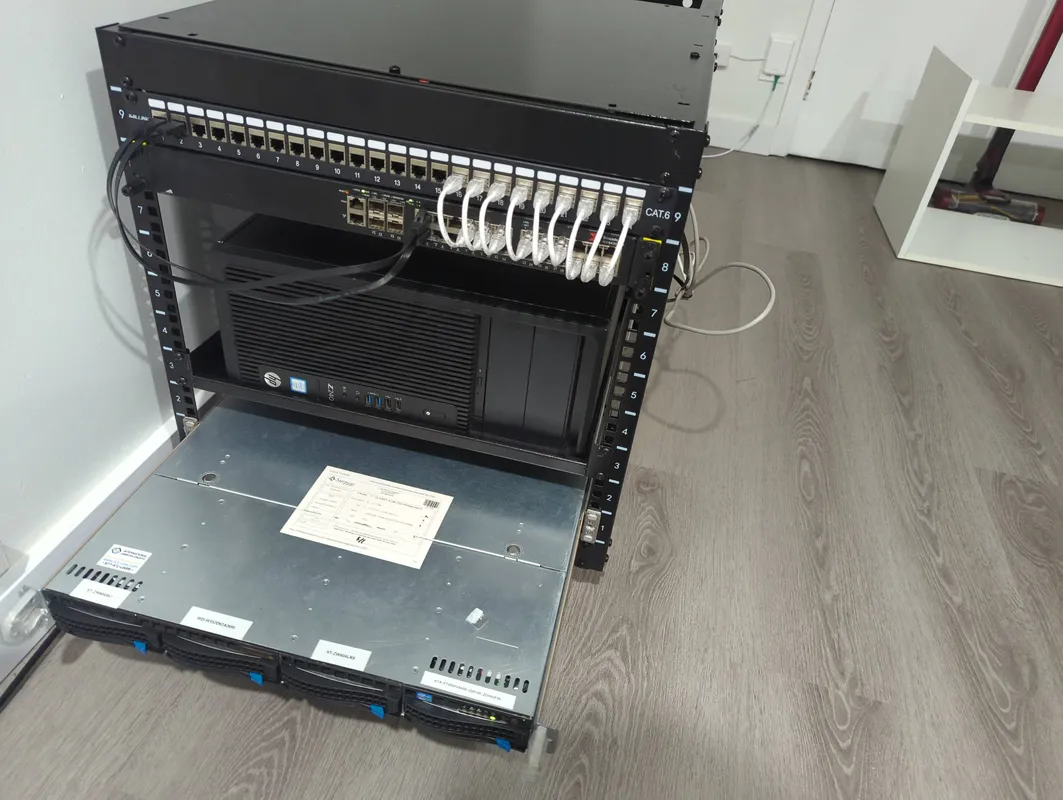
And the rest of the crap.
Hopefully, now you can see why I needed those shelves to fit back-to-back…
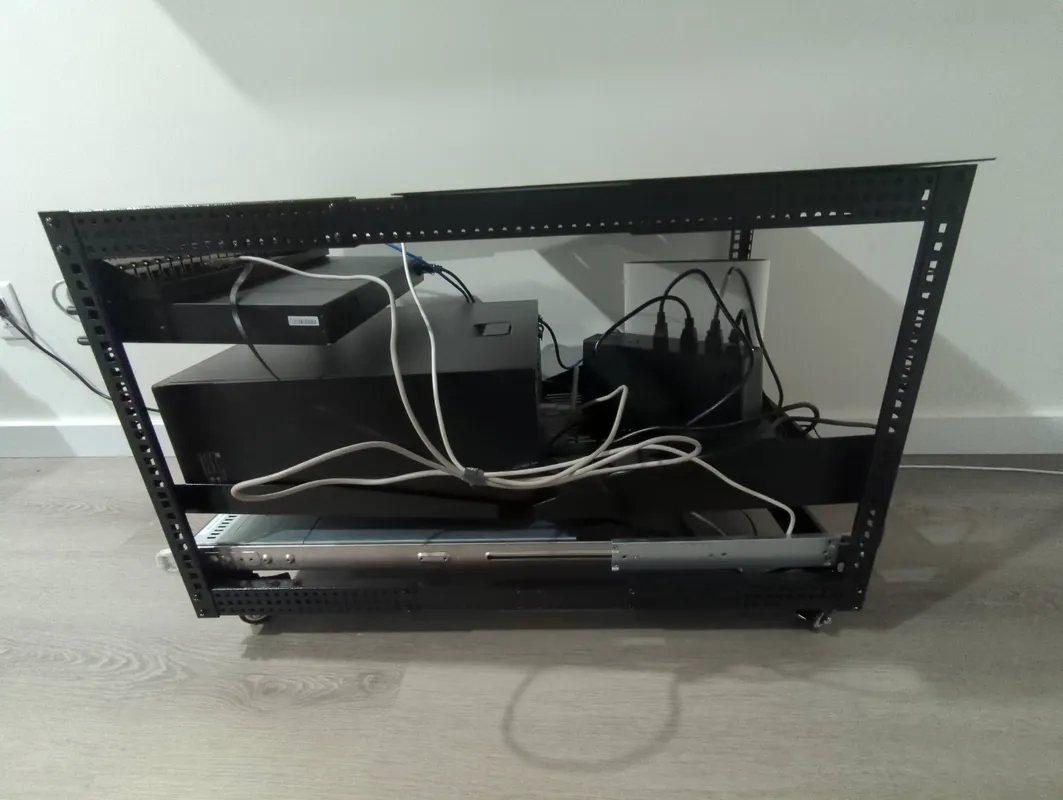
Still kind of a mess, but less of an eye-sore?
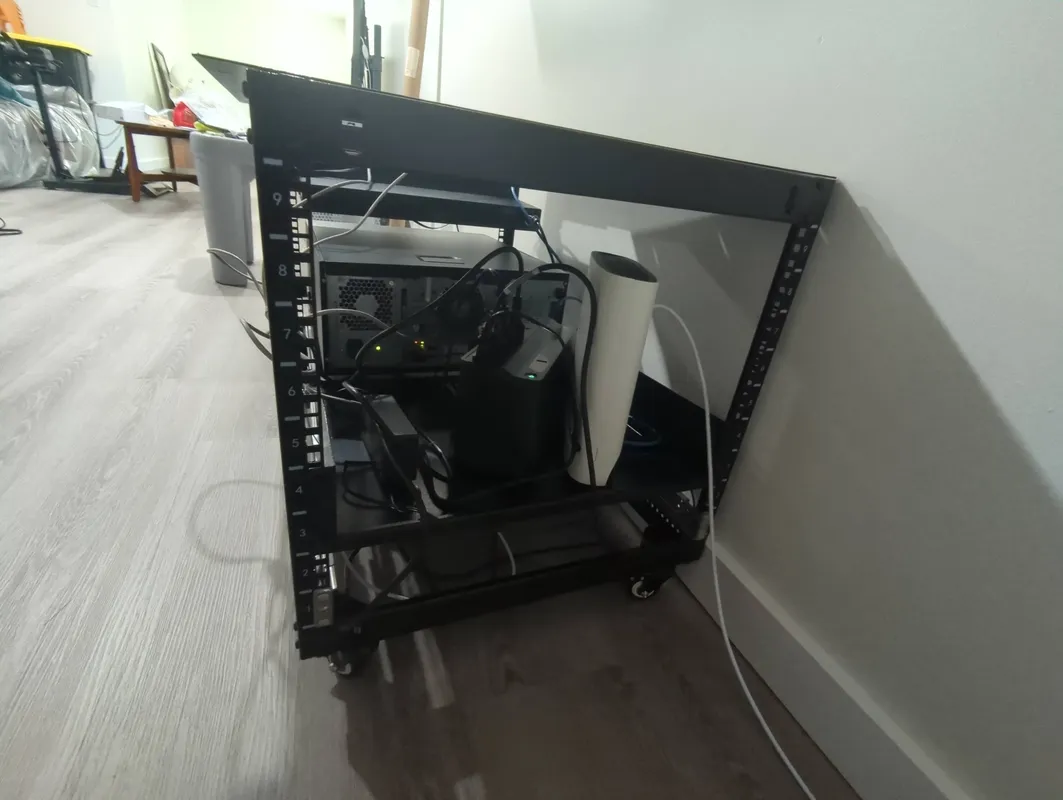
In hindsight, I probably should’ve gone with a 15U :)
5. final
Ended the day with this.
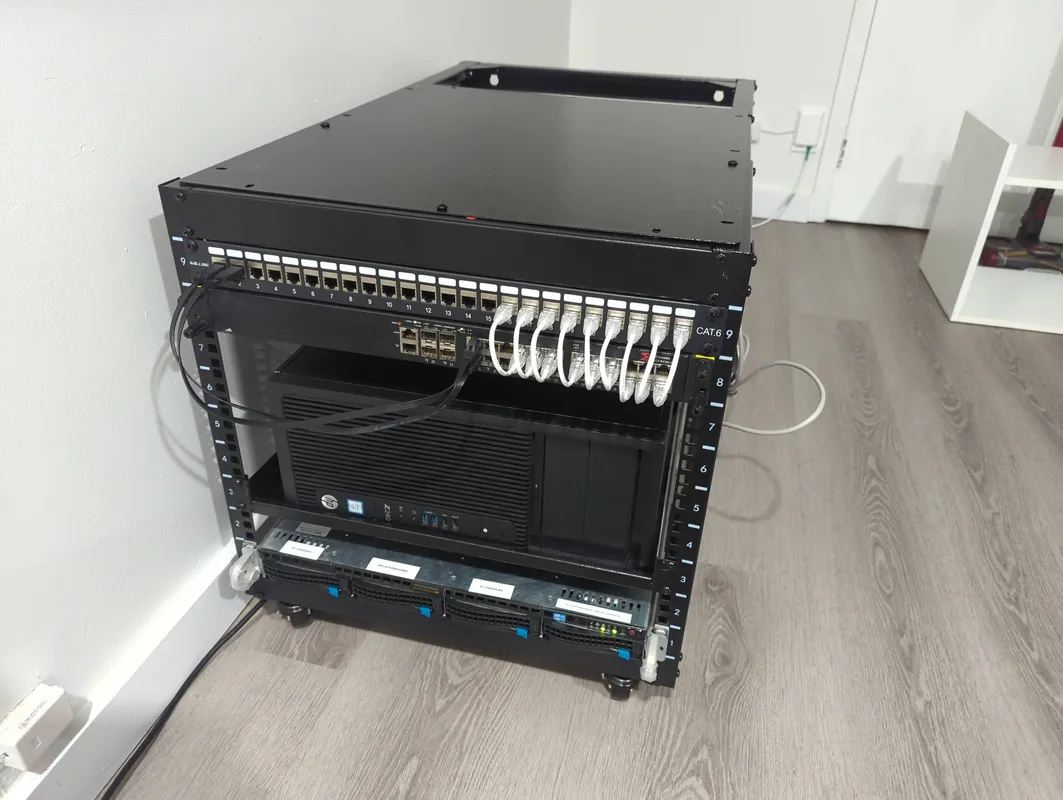
Checking back the next day…things were normal since the big shift. Yay all our Linux ISOs survived!
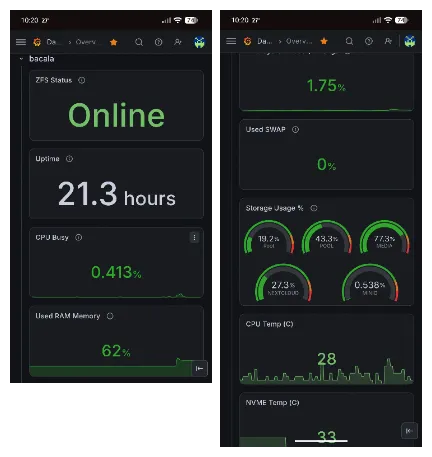
And…oh well.